


1. Set up utilities before move-in
Confirm electricity, gas, water, internet, trash service, and any required local or building services before move-in day. Do not assume utilities will transfer automatically from the prior tenant or landlord. Ask which accounts must be opened in your name, which services are included in rent, and when service should begin. Utility delays can make the first days in the rental uncomfortable, unsafe, or unnecessarily expensive.
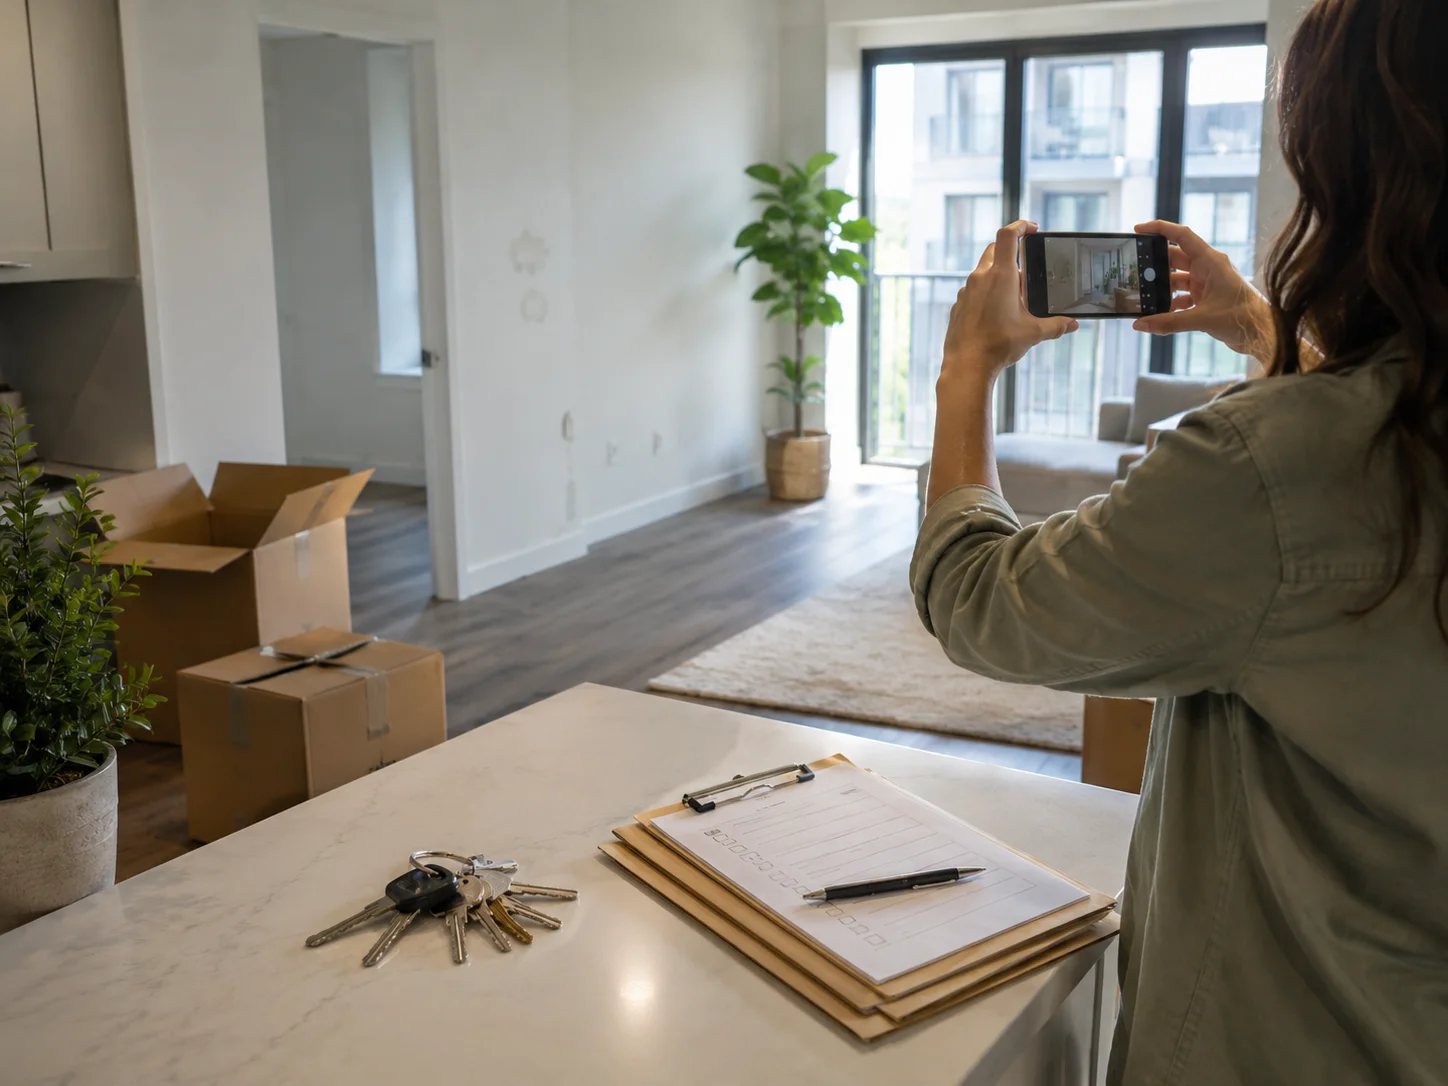
2. Take detailed photos and videos before unpacking
Before boxes, furniture, rugs, or decorations cover the unit, document its condition carefully. Take photos and videos of every room, wall, floor, ceiling, window, door, appliance, fixture, cabinet, closet, and visible defect. Capture close-up and wide-angle views so the location of each issue is clear. This record protects you from being blamed later for damage that existed before you moved in.
3. Complete a move-in condition report
Use the landlord’s move-in condition form if one is provided. If there is no form, create your own written summary that lists the condition of each room, appliance, surface, fixture, and system. Be specific about scratches, stains, broken items, leaks, odors, pest signs, missing items, or anything not working properly. A written condition report creates a structured record instead of relying only on scattered photos.
4. Report existing damage in writing immediately
Report any existing damage or defects in writing as soon as possible after move-in. Include scratches, stains, cracked tiles, damaged flooring, broken blinds, appliance problems, leaks, water stains, pest signs, lock issues, window problems, or anything that does not function correctly. Written notice helps separate pre-existing conditions from tenant-caused damage. Waiting too long can make it harder to prove the issue was already there.
5. Send one consolidated move-in email with photos attached
Send one organized move-in email to the landlord or property manager with your condition report, photos, and videos attached or linked. Use a clear subject line and keep a copy for your records. Sending everything together creates a timestamped record of the unit’s condition at move-in. This matters later if there is a repair dispute, security deposit deduction, or disagreement about whether damage was pre-existing.
6. Confirm all keys and access items
Document every access item you receive at move-in, including keys, fobs, parking permits, mailbox keys, garage remotes, storage keys, gate cards, building codes, and smart-lock credentials. Confirm which items must be returned at move-out and whether replacement fees apply if anything is lost. This prevents confusion later and helps you verify that you have full access to the unit, building, parking, mail, and amenities.
![[background image] image of topdown photo of desk with laptop (for a food and agtech)](https://cdn.prod.website-files.com/69fcbfd51b2bc69ac521880f/6a33dfa5776699afc5a2cd35_7182686e-6068-46b5-b231-80326bc2e7b3.avif)